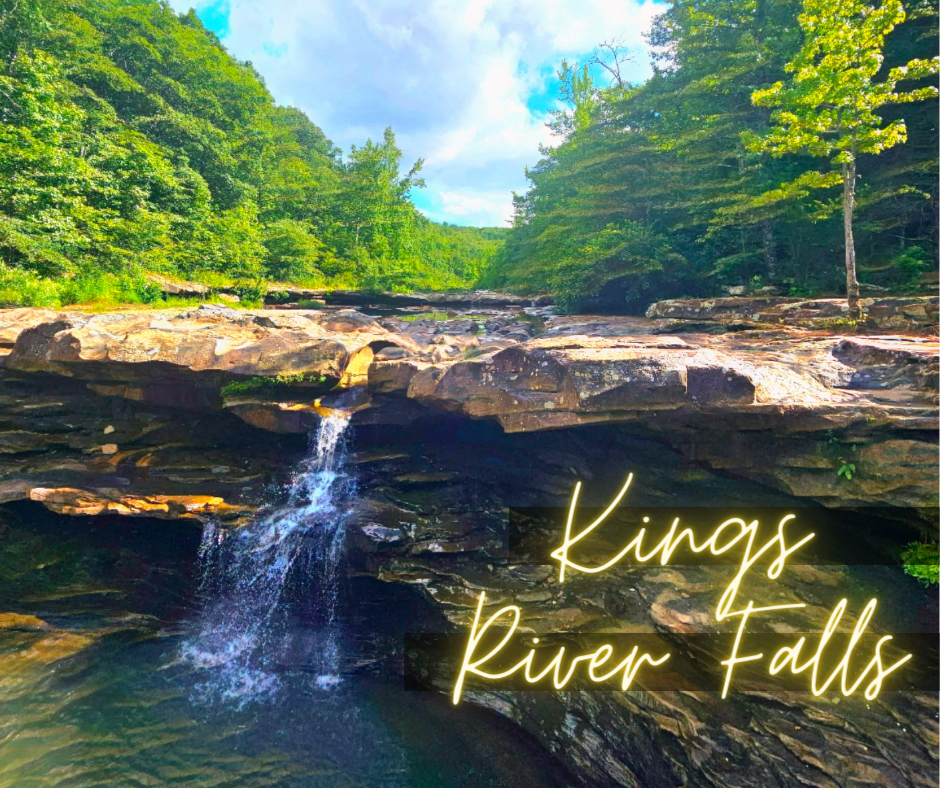
Sunrises2sunsets
wander.
explore nature.
create
memories.
live life.
Sunrises2sunsets
wander.
explore nature.
create
memories.
live life.
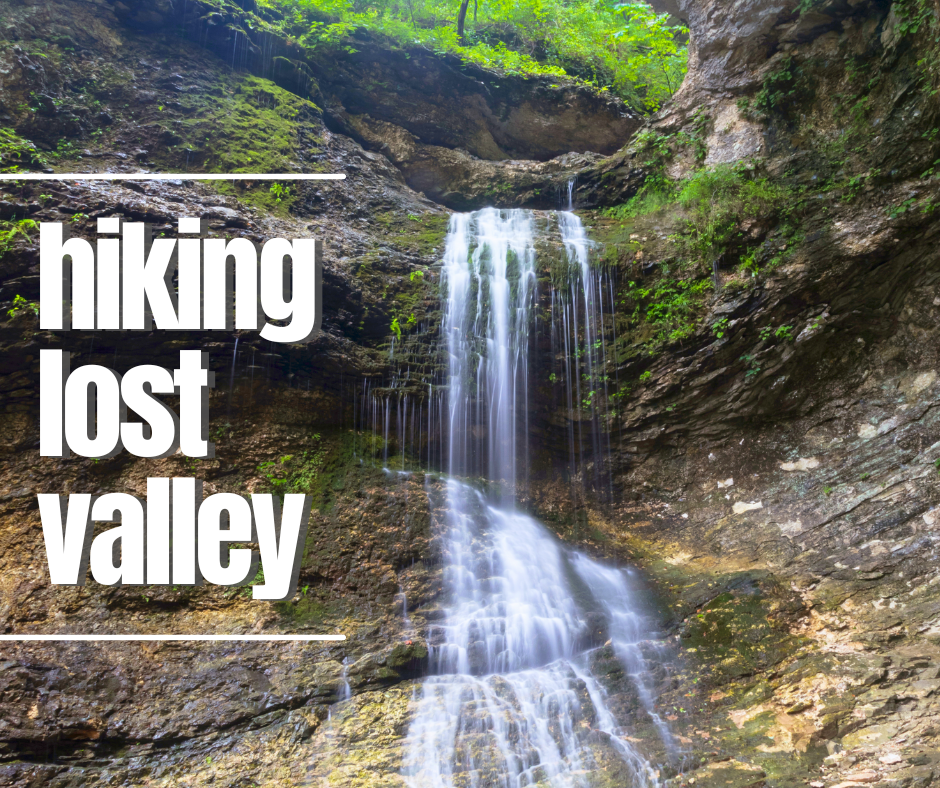
First things first. Don’t hike this trail. The Eye of the Needle is a dangerous hike.

I say this as a disclaimer. I am not responsible for your decision to hike this trail, or anything that happens on this trail.
Sign up for year-round adventure ideas + tips!
By joining, you`re consenting to emails. You may unsubscribe at any time.
(Some of the product links on this website are affiliate links of which Sunrises2Sunsets receives a small commission from sales, at no additional cost to you. As an Amazon Associate, I earn from qualifying purchases)
I had seen pictures of the Eye of the Needle and have wanted to make this trek for the past year. I have read a few accounts of the trail and did all of the research I could to get a more clear picture of what would be ahead.
The Eye of the Needle is considered the most dangerous hike in the state and is no longer recognized as an official hiking trail due to the large number of injuries, and even death. The most recent death on the trail occurred in 2022 (read about it here).

This 4.3-mile out-and-back trail was an incredible challenge full of risks. Full attention has to be paid to each step. Because every single step on this trail matters. Any misstep could result in serious injury or death.
But, if you are fully aware of all of this, and want to take on this challenge, like I did, then I want to make sure you know what you are getting into. I am not responsible for your decision to hike this trail or anything that occurs on the trail.

Sunrises2Sunsets
✓Hiking ✓Kayaking ✓Arkansas State Parks ✓Camping ✓Road Trips
The Eye of the Needle is a rock formation that sits in the Buffalo National River area. In the right conditions, a waterfall flows down from the mountains and through the eye, into the Indian Creek, and then into the Buffalo River.
We are experienced hikers who have hiked just about every trail in Arkansas, leaving the Eye of the Needle on my bucket list, until now.
Since it was a 2-hour drive to the trailhead, we chose to drive our camper van to the site the night before. The trailhead is conveniently located at the edge of the Kyle’s Landing Campground.

The signs at the beginning of the road to the campground are scattered with warnings about the dirt road to the bottom of the mountain. It warns that the road is not for campers and high clearance vehicles are required. We were unaware of this and stopped to debate if we would drive the road to the campground. After watching a few cars come up the road, we decided to give it a shot.

And let me tell you, this dirt road is nothing. If you have ever driven to Whitaker’s Point, you will find this dirt road incredibly easy. If you have done any amount of dirt road driving in the Ozarks you will have no issues with this road. In fact, it seemed like a fairly well-maintained dirt road to us. There is not much loose gravel and there is adequate room for vehicles to pass by each other.
We easily made it down the road to Kyle’s Landing. The campground was stunning with the backdrop of the bluffs and the setting sun. The campground has a bathroom with running water and flushing toilets, but no showers.
First come, first serve campsites are available with no hookups. It is listed as tent camping only, but we parked the campervan at an available spot to the side and paid our fees at the self-serve station ($20/night or $10/night for senior citizens or access passes).

The next morning we woke, heated up a quick breakfast, and pulled the van over to the Indian Creek trailhead parking lot, ready to make our way to the Eye of the Needle in Arkansas.
We started the hike in our water shoes (me in Tevas, him in Crocs) because the guides I had read said there are multiple creek crossings on the way to the Eye of the Needle. After crossing a dry creek and heading up a path with large rocks, we quickly decided to change into our hiking boots.

Hiking Boots
Columbia Women’s Facet 75 Mid Outdry Hiking Shoe
The trail accounts I had managed to pull together were still not clear. I still questioned the exact turns, even using my Arkansas Waterfalls book and AllTrails. There is no cellphone service, but AllTrails (Eye of the Needle hiking map here) still did a fairly decent job.
Despite the many trails through the area, we managed to make it to our final destination with only 2 wrong turns that were corrected within a quarter of a mile.
Our final path looked like this:

Starting out at the trailhead at Kyle’s Landing…
1. Straight at the first intersection (left to BRT Erbit, straight to BRT, ORT, Steel Creek)
2. Straight at the second intersection (left to BRT Steel Creek, straight to ORT Steel Creek)
3. Left at the third intersection (a “T”: right takes you to the Buffalo River, left to Indian Creek)
4. Left at the 4th intersection (to Indian Creek)
5. Straight at the 5th intersection (to BRT Steel Creek)
6. Pass a post that shows no horses or dogs beyond this point.
Once we reached Indian Creek, about 30 minutes from the trailhead, we took a left and headed up the creek. The rest of the trip to Eye of the Needle was spent traveling along the creekbed. The trail traveled in the creek, along one side of the creek, and sometimes there were options of a trail on either side of the creek.

We spent the next hour and a half traveling the creek upstream. It started off as a dry creekbed, but soon turned to water spots, into a light stream, and then a full-blown creek.
There were cascades and waterfalls all along our path. Copperhead Falls was a beautiful 13ft waterfall along the way. Hiking in the creekbed was fairly risk-free, and wasn’t too slippery for us.

The times we were forced to get out of the creek, and onto the muddy, steep embankments were the riskier times.
Sometimes, on either side of the full creek, there were steep trails that traveled along the banks. Some trails led higher up on the mountain. Most of the trails on the side are incredibly steep and dangerous if you miss a single step.

There was one extremely risky section that stuck with me. With a full creek beside us, we traveled along the bank on the only side allowing a hiking path. We intersected a large bluff outcropping with a very narrow ledge for passage, with no option for hanging on for support. Luckily, someone had left a large hiking stick at the start of this section. This hiking stick stayed by my side the rest of the hike, and served me well!

Hiking Backpack
My backpack: Lowe Alpine AirZone Active Backpack for Day Hiking
With my hiking stick in one hand, and holding hands with my co-hiker, we sidestepped across the outcropping, each of us taking one slow step at a time. This is the only section that we stopped, debated, and thought our way through each step before acting.
Beyond that, there were a few slips on the muddy ground, but nothing serious. We were treated to many stunning waterfalls along the way, including a magnificent 31 ft waterfall flowing out of a closed-off cave: “Tunnel Cave Falls” aka “Arkansas Cave Falls.”

Not far beyond the cave came the section of this route that the hike is known for: THE ROPES. Due to one missed turn early in the hike, our need to backtrack a bit, and plenty of stops for pictures of waterfalls, we reached this point just over 2 hours into the hike.
If you have even the slightest fear of heights, this will probably be your biggest obstacle. The first small section of the ropes was a climb straight up with a mini ledge to stand on at the midpoint. The height of the straight edge is about 15ft. This section required arm strength to pull myself up, and my leg to counterbalance against the bluff’s edge.

Once I made it up this section, there was another 200-250 ft of steep incline (45 degrees +) with multiple secured ropes for me to pull me up. Due to the angle, my legs held me upright, but couldn’t really help push me up the incline. It was all on my arms to pull me to the top.

I consider myself fairly fit and strong and I feel like this incline was one of the most physically tiring things I have done. There was a section or 2 that leveled out enough on the side to allow a good stopping point to rest if needed. Once I reached the top, I doubled over to catch my breath for a bit, and to look around.

The scenery at this point is nothing short of spectacular! It appeared that I was in a large rock half-dome. At this point, I was uncertain of where to go next. There was a ledge to the left that led to another outcropping that I decided to explore.

This ledge was dicey and required a little bit of crawling and scrambling, but I made it. Once I passed that ledge, I saw a couple of tunnels through the rock with more greenery and forest visible.
Once I crawled through the tunnel, I seemed to be in another world. The path led back down into the creek bed again, with boulders that towered over me. I made sure to get a clear mental image of this section so that I wouldn’t miss my turn on the return hike.

Climbing and scrambling over the gigantic boulders going upstream for about 5 minutes led me to my final destination: Eye of the Needle.
Although there had been recent rains, the area was muddy and saturated, Indian Creek was flowing well, and with the Buffalo River levels up, the Eye of the Needle had no water flowing through it on my visit. But even with no water, it was still an amazing geological formation to witness. It was surreal and made me feel like I was in some ancient world or prehistoric times.

After spending just 5-10 minutes at the eye, the thunder cracked above and the downpours began. Because I knew there was a 2+ hour hike back, along treacherous trails, I decided it was time to head back rather than continue soaking in the glory of finally seeing The Eye of the Needle.
With my mental image in mind, I found my turn off of the valley of boulders, back onto green trails that led back up to the rock tunnels. The trip down the ropes was much easier than the trip up. Luckily the ground was not too muddy and slippery at this point. Scrambling down the incline and the ledge was an easy task for me.

And then the tough part started. The already saturated and slippery grounds were getting even wetter and more treacherous. Our hike back involved many slips and slides. We took each step fully prepared to slide. We used trees to help balance and stabilize and had to be fully aware of each step. We had plans for what to do in each muddy section if we started to slide.
We took advantage of the few areas of bluff outcroppings we could sit under to rest, get out of the rain, and soak in the scenery and the experience.

There are some sections of this trail where even the slightest slip could lead someone down a steep incline or off a ledge. Extreme caution had to be taken for the next rainy 2.5 hours. We were exhausted and relieved to finally reach the flatter, dryer section of the creek for a level hike along the trails before rejoining the BRT (Buffalo River Trail).
By the time we reached this point, we were thoroughly soaked, with not a dry inch of body or clothing left. The return BRT trail was a solid puddle back to the trailhead that we unapologetically splashed through since we were already soaked from the tops of our heads to the tips of our toes.

We managed all the correct turns back to the trailhead and were thankful to finally make it back to the van. Although this was an amazing experience full of memories and laughter, we were incredibly grateful to pull off every single soaking layer of clothing and swap it out for dry clothing.
This trail was an amazing physical and mental challenge for me! I am glad I was able to experience it firsthand. I can now see why this trail is not an official trail and comes with multiple warnings. I am only slightly disappointed that the falls were not flowing through the eye, and do plan on making another hike at some point. This year? Maybe, maybe not. But by next year for sure!

The top 5 picks and what you can expect.

All the details you need to plan a stress-free hike to see the most photographed spot in Arkansas: Whitaker Point (aka Hawksbill Crag).

Hiking supplies to own.

Arkansas HIkes
checklist


Goal Planning
Your Ultimate Guide to Life goals

Your Guide to
A Happier You!
The 3 keys to happiness (challenge + tracker included)

This looks like an amazing hike! Such beautiful views. Is that your husband in the photos?
That’s my boyfriend!
Wow – this trail really seems to be quite an experience. Thank you for sharing your pictures and guide with us. It seems quite challenging and advanced!